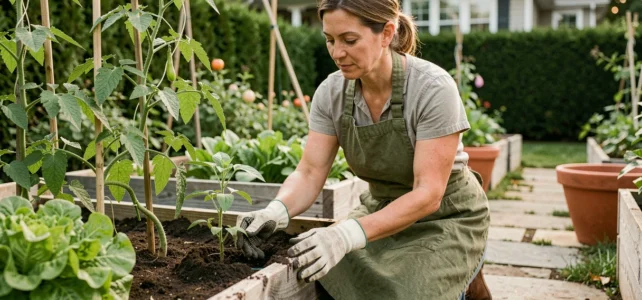
Clay soil that sticks to your boots after every rain, a poorly oriented piece of land, tomato plants that languish while the neighbor’s zucchinis overflow: we’ve all experienced this kind of disappointment in the vegetable garden. Creating a productive vegetable garden at home doesn’t rely on luck, but on a few decisions made even before picking up a spade.
The choice of soil, the management of light, and the permanent coverage of the ground make the difference between a bountiful harvest and a frustrating season.
Mapping the light before laying out the vegetable beds
Most guides say “at least six hours of sunlight.” We won’t dwell on that; it’s a basic requirement. What is often missing is the distinction between the types of sunlight throughout the day.
A vegetable garden that receives morning sun dries the dew on the leaves quickly, which reduces the pressure from fungal diseases like downy mildew. The late afternoon sun, on the other hand, warms the soil deeply but can stress young plants in the summer. Noting separately the morning, noon, and late-day sunlight before drawing anything changes the game.
It is recommended to take a sheet of paper, draw the obstacles (wall, tree, fence, building), indicate the north, and mark the access points. This simple survey, done over two or three days at different times, prevents you from planting tomatoes in an area that only receives sunlight late in the day. Lettuce and spinach, on the other hand, tolerate partial shade in the morning very well.
To deepen your crop choices and find suitable varieties, Tradition Jardin’s vegetable garden offers selections that align with these exposure logics.
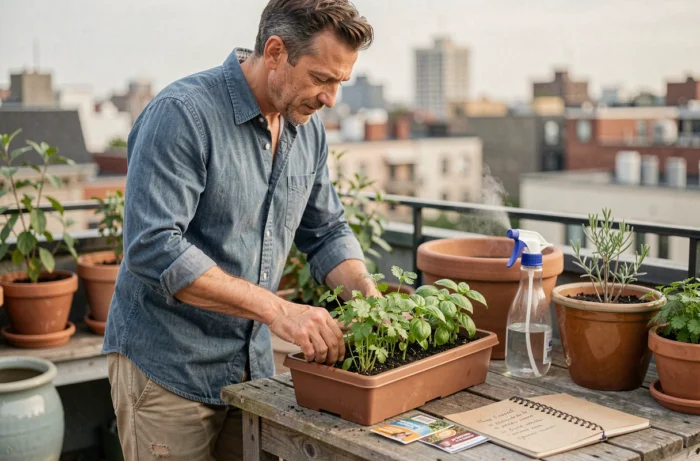
Living soil and permanent mulching: reducing work in the vegetable garden
We spend a crazy amount of time weeding, watering, and hoeing. A good portion of this work disappears when we cover the soil permanently. The principle is simple: bare soil is soil that impoverishes.
What soil coverage changes concretely
Organic mulching (straw, hay, wood chip, dead leaves) maintains moisture, nourishes microfauna, and limits the emergence of weeds. In practice, we significantly reduce watering from the very first season, and the soil gains in flexibility over the months.
For newly created plots, laying unprinted brown cardboard directly on the grass, covered with compost and mulch, allows you to start without turning the soil. This is the basis of the “no-dig” method, which yields good results on compacted or fallow soils.
- Straw or hay mulch: a thick layer (at least the height of a hand) renewed when it thins out, ideal for tomatoes and squashes.
- Wood chip (BRF): decomposes slowly, suitable for paths and perennial crops like raspberries or rhubarb.
- Surface compost: direct nutritional input, to be spread in a thin layer around existing plants, without burying it.
- Untreated brown cardboard: used as a base layer to smother weeds, then covered with organic matter.
Permanently covering the soil reduces weeding and watering from the first year. Feedback varies on the optimal thickness depending on the climate, but the principle remains the same: never leave the soil bare.
Planning harvests according to use: fresh consumption or preservation
We often plant in the spring without considering what we will do with the vegetables in August, when zucchinis arrive by the dozen and beans ripen all at once. This peak in production is the primary source of waste in the family vegetable garden.
Defining from the start whether the harvests will be eaten fresh or preserved changes the list of seeds. For immediate consumption, we favor vegetables with staggered harvests: cut-and-come-again salads, radishes sown every two weeks, cherry tomatoes. For preservation (freezing, lacto-fermentation, drying), we choose varieties with grouped production like dwarf beans or beets.
Staggering sowing to avoid surplus
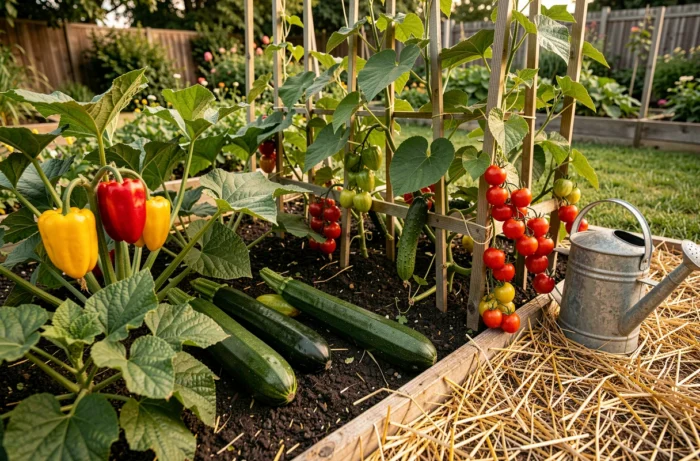
Staggered sowing is the most underutilized technique by beginners. We sow a small amount of radishes or lettuces every two to three weeks instead of sowing the entire packet at once. The result: regular harvests from March to October instead of an unmanageable influx over three weeks.
This reasoning also applies to summer vegetables. Instead of planting eight zucchini plants (a classic mistake), we put in two or three and use the remaining space for succession crops: after harvesting the beans in June, we plant beans or fall salads.
Size of the vegetable garden in the first year: start small and manageable
We all want to turn half the garden into growing beds. The reality is that a small, well-maintained space produces more than a large, neglected area. Two to three well-maintained beds are enough for a successful first season.
The trap of a vegetable garden that is too large is discouragement in July. Watering becomes a chore, weeds take over, and sick plants are not identified in time. It’s better to cultivate a few square meters with rich, mulched soil, then expand the following year based on what you’ve learned.
- First year: limit yourself to a few easy vegetables (tomatoes, salads, radishes, zucchinis, beans) over a modest area.
- Second year: add more demanding crops (eggplants, peppers, melons) and integrate rotation.
- Third year: experiment with plant associations, green manures, and perennial vegetables.
The vegetable garden is a system that improves over time. Each season enriches the soil, refines the choice of varieties, and helps understand the specifics of your land. It’s better to harvest little but well in the first year than to abandon everything in August. The space naturally expands when the actions become automatic and the soil, year after year, gains in fertility.